- Published on
Color Button 테스트
Color Button 테스트
Color Button 앱 시작하기
조건
- 버튼 색상은 빨간색, 텍스트는 “Change to blue”를 가진 요소가 정상적으로 동작하는지 테스트
App.test.js
test('버튼 색상이 올바른가', () => {
  render(<App />)

  // 버튼 요소이면서 "Change to blue"라는 텍스트를 가진 요소 찾기
  const colorButton = screen.getByRole('button', { name: 'Change to blue' })

  // 위의 조건을 가진 버튼 스타일의 배경색은 빨간색이어야 함
  expect(colorButton).toHaveStyle({ backgroundColor: 'red' })
})
render(<App />);- 테스트 대상이 되는 애플리케이션 컴포넌트 렌더링
const colorButton = screen.getByRole("button", { name: "Change to blue" });- 렌더링으로 생성된 가상 DOM에 액세스 가능한 전역 객체인
screen을 사용 - 첫 번째 인수는
역할을 나타내는 문자열 - 두 번째 인수는
옵션이며, 대상이되는 요소의 정보
- 렌더링으로 생성된 가상 DOM에 액세스 가능한 전역 객체인
expect(colorButton).toHaveStyle({ backgroundColor: "red" });jest-dom에서 지원하는 매처(Matcher)인toHaveStyle일을 통해 버튼의 배경색을 확인- 실제 객체를 나타내는
객체 리터럴로 찾을 수 있음
App.js
import logo from './logo.svg'
import './App.css'

function App() {
  return (
    <div>
      <button style={{ backgroundColor: 'red' }}>파란 버튼으로 바꾸기</button>
    </div>
  )
}

export default App
테스트 코드에서 작성한 조건을 기반으로
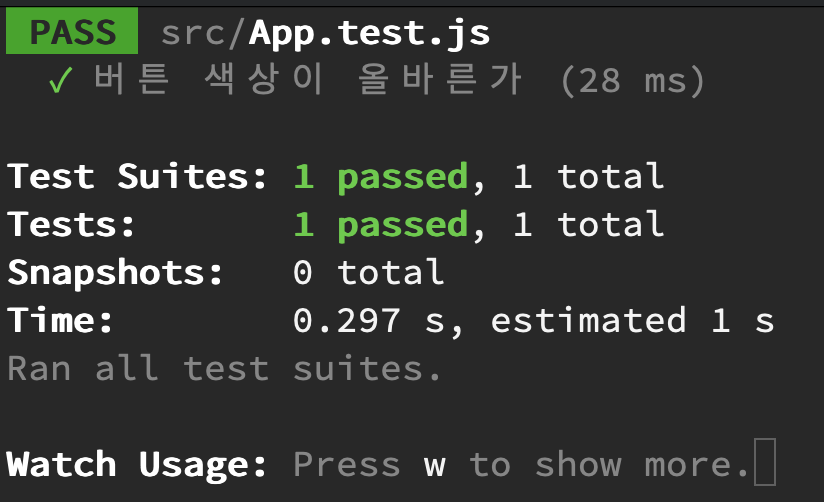
App.js의 요소를 작성테스트를 통과하면 성공 메시지를 확인할 수 있음

역할로 버튼을 찾고 버튼을 클릭하는 테스트
test('버튼을 클릭했을 때 파란색으로 바뀌어야 함', () => {
  render(<App />)
  const colorButton = screen.getByRole('button', {
    name: '파란색으로 바꾸기',
  })
})
버튼이 올바르게 작동하는가에 대한 테스트와 별개로 버튼을 클릭했을 때 파란색으로 바뀌는 테스트를 작성
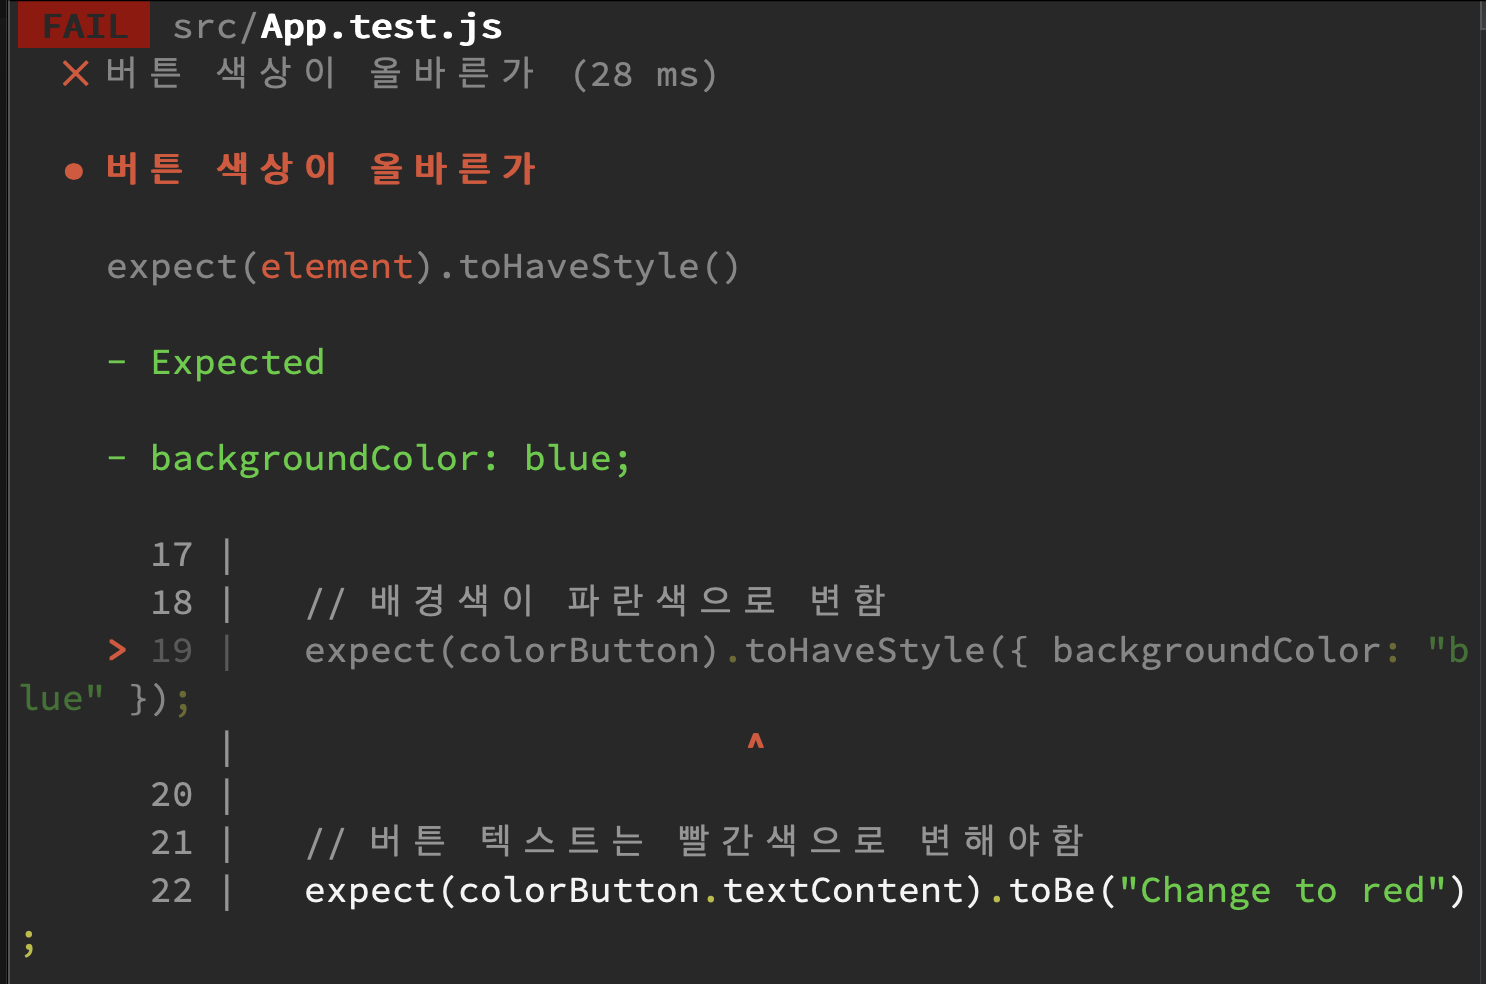
유닛 테스트의 경우처럼 좀 더 철저하게 분리된 테스트를 작성을 할 때에는 테스트 하나에 하나의 단언만 나오는 것을 선호함기능 테스트의 경우는 공통된 행동(이벤트)을 기준으로 하나의 테스트 안에 단언을 여러 개 쓰는 데에 좀 더 자유로울 수 있음import { render, screen, fireEvent } from '@testing-library/react' test('버튼 색상이 올바른가', () => { render(<App />) // ... // 버튼을 클릭했을 때 fireEvent.click(colorButton) // 배경색이 파란색으로 변함 expect(colorButton).toHaveStyle({ backgroundColor: 'blue' }) // 버튼 텍스트는 빨간색으로 변해야함 expect(colorButton.textContent).toBe('빨간색으로 바꾸기') })@testing-library/react라이브러리에서fireEvent를 통해 가상 DOM에서 요소들과의 상호작용을 위해 가져옴fireEvent click 메서드를 통해 배경색을 바꾸고, 바뀐 요소의 텍스트가
"빨간색으로 바꾸기"인지 조건을 특정
19줄까지는 실행했지만, 테스트가 실패한 후 다음 줄은 실행되지 않음
- 그러므로, 테스트마다 하나의 단언문을 두는 것(
유닛 테스트의 관점)이 바람직하나 텍스트 콘텐츠를 테스트하기 위해 테스트에 필요한 전체 설정이 반복될 필요는 없음
- 그러므로, 테스트마다 하나의 단언문을 두는 것(
React 코드: 버튼을 클릭하여 색상 변경하기
function App() {
  const [buttonColor, setButtonColor] = useState('red')
  const newButtonColor = buttonColor === 'red' ? 'blue' : 'red'

  return (
    <div>
      <button
        style={{ backgroundColor: buttonColor }}
        onClick={() => {
          setButtonColor(newButtonColor)
        }}
      >
        Change to {newButtonColor}
      </button>
    </div>
  )
}

export default App
- 테스트 코드를 작성하고 통과하기 위해 button 클릭을 했을 때, 해당 버튼의 배경 색상이 바뀌도록 이벤트를 지정
버튼과 체크박스의 초기 조건 테스트
App.test.js
test('초기화 조건', () => {
  render(<App />)

  // 버튼이 초기 상태인가
  const colorButton = screen.getByRole('button', { name: 'Change to blue' })
  expect(colorButton).toBeEnabled()

  // 체크박스의 체크가 초기 상태인가
  const checkbox = screen.getByRole('checkbox')
  expect(checkbox).not.toBeChecked()
})
App.js
function App() {
  const [buttonColor, setButtonColor] = useState('red')
  const newButtonColor = buttonColor === 'red' ? 'blue' : 'red'

  return (
    <div>
      <button
      // ...
      >
        Change to {newButtonColor}
      </button>
      <input type="checkbox" />
    </div>
  )
}

export default App
button을 클릭했을 때, 체크박스 상태값에 버튼이 활성화, 비활성화되는 테스트를 작성- 단언문에서 체크박스가 활성화 되었는지 테스트하기 위해서
checked의 반대 상태를not매처(Matcher)를 통해 정의
체크박스 체크 시 확인 버튼 비활성화하는 테스트
App.test.js
test('체크박스 체크 시 확인 버튼 비활성화', () => {
  render(<App />)

  const checkbox = screen.getByRole('checkbox')
  const button = screen.getByRole('button')

  fireEvent.click(checkbox)
  expect(button).toBeDisabled()

  fireEvent.click(checkbox)
  expect(button).toBeEnabled()
})
체크 박스와버튼을getByRole을 통해 정의하고, 버튼 클릭 이벤트에 따라 toggle을 체크하는 테스트를 작성
App.js
function App() {
  const [buttonColor, setButtonColor] = useState('red')
  const [disabled, setDisabled] = useState(false)

  const newButtonColor = buttonColor === 'red' ? 'blue' : 'red'

  return (
    <div>
      <button
        style={{ backgroundColor: buttonColor, color: 'white' }}
        onClick={() => {
          setButtonColor(newButtonColor)
        }}
        disabled={disabled}
      >
        Change to {newButtonColor}
      </button>
      <br />
      <input
        type="checkbox"
        id="enable-button-checkbox"
        defaultChecked={disabled}
        aria-checked={disabled}
        onChange={(e) => setDisabled(e.target.checked)}
      />
    </div>
  )
}

export default App
- 체크박스를 클릭하면 확인 버튼의 활성화 여부를
useState훅으로 관리하여 그린테스트에 필요한 React로 코드를 작성
유닛 테스팅 함수
App.test.js
describe('카멜케이스 앞에 공백 붙이는 함수', () => {
  test('대문자 없는 경우', () => {
    expect(replaceCamelWithSpaces('Red')).toBe('Red')
  })
  test('대문자 한 개인 경우', () => {
    expect(replaceCamelWithSpaces('MidnightBlue')).toBe('Midnight Blue')
  })
  test('대문자가 여러개인 경우', () => {
    expect(replaceCamelWithSpaces('MediumVioletRed')).toBe('Medium Violet Red')
  })
})
describe문장을 사용해 테스트를 그룹화하여 각각의 테스트를 정의함유닛 테스트는 기능 테스트를 통해 테스트를 하기에는 논리가 너무 복잡한 경우에 저합함
App.js
export function replaceCamelWithSpaces(colorName) {
  return colorName.replace(/\B([A-Z])\B/g, ' $1')
}
- 테스트에 통과하기 위해, 한 단어의 내부에서 대문자를 발견할 경우 혹은 다수의 대문자를 발견하는 경우 수행하는 정규표현식을 작성
- 발견한 대문자는 어떤 글자이든지 간에 공백으로 대체함
유닛 테스트를 하는 경우
- 엣지 케이스가 많은 경우
- 기능 테스트의 실패 원인을 판단하려는 경우
- 복잡한 함수에 대해 테스트가 실패한 경우 원인을 빠르게 파악할 수 있음
Referenced